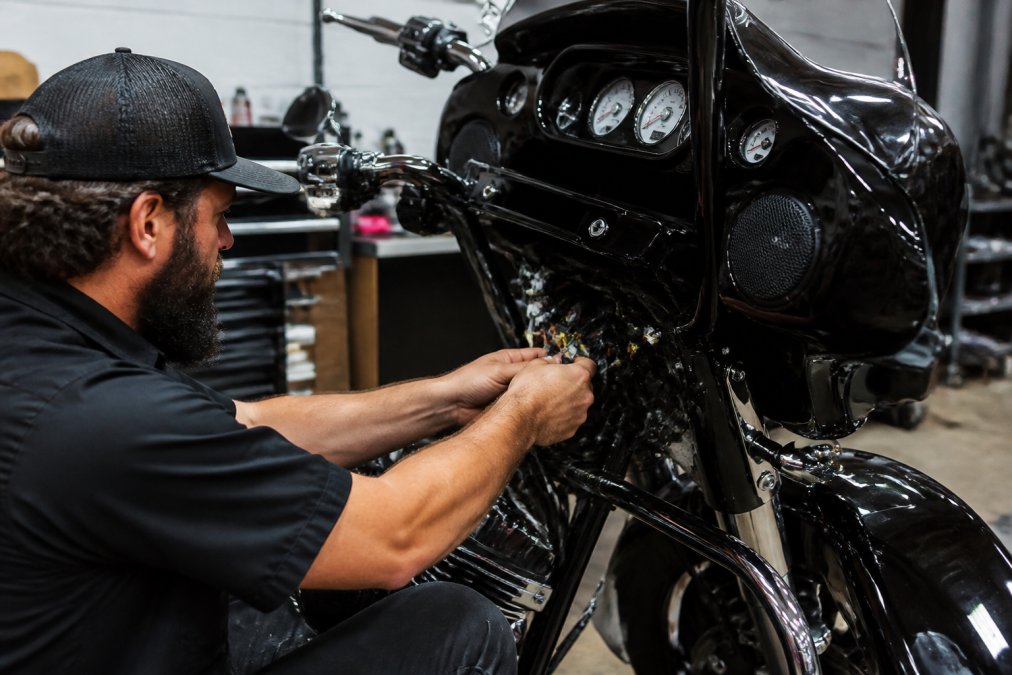
 how-to
Finding Professional Motorcycle Audio Installers
Table of Contents
- Why Motorcycle Audio Installation Requires Specialized Expertise
- Motorcycle Audio System Design and Electrical Considerations
- What to Look for When Vetting a Professional Installer
- Motorcycle Audio Installation Cost and Budget Planning
- Motorcycle Audio Wiring Best Practices for Long-Term Reliability
- Best Motorcycle Audio Amplifier Brands and Selection
- DIY vs. Professional Installation: What You Need to Know
- Weatherproofing and Durability Standards for Motorcycle Audio
- Frequently Asked Questions
Last Updated: September 25, 2026
Why Motorcycle Audio Installation Requires Specialized Expertise
Installing a quality audio system on a motorcycle is fundamentally different from car audio work. The electrical systems are tighter, the vibration environment is harsher, and the space constraints demand creative problem-solving that generic installers simply don't have.
Motorcycles present specific challenges that separate competent work from disaster. Your bike's charging system operates at lower amperage than most cars, add a high-output amplifier without proper power management and you'll face battery drain within 30 minutes of riding. Vibration loosens connections and degrades solder joints, while weather exposure and salt air corrode unprotected connections.
This is where specialized motorcycle audio installers earn their reputation. They understand how to design systems that work WITH your bike's limitations rather than against them. They know which components survive the mobile environment, how to route wiring safely away from hot exhaust pipes, and how to weatherproof everything so your investment lasts years, not months.
Motorcycle Audio System Design and Electrical Considerations
A proper motorcycle audio system starts with electrical planning. Before mounting anything, your installer must map power draw, battery capacity, and charging capability, this foundation determines whether your system works reliably or fails.
Your motorcycle's stock electrical system was designed for ignition, lights, and fuel pump. A quality motorcycle audio installer will evaluate your alternator output and battery size, then spec components that won't exceed safe limits and discuss whether you need a secondary battery, high-output alternator upgrade, or capacitor bank.
Wiring harness routing matters more on a motorcycle than anywhere else. Professional installers run wiring through conduit, secure it away from heat sources, and use sealed connectors at every junction. They know which paths are safe, avoiding foot pegs and engine heat that could damage insulation.
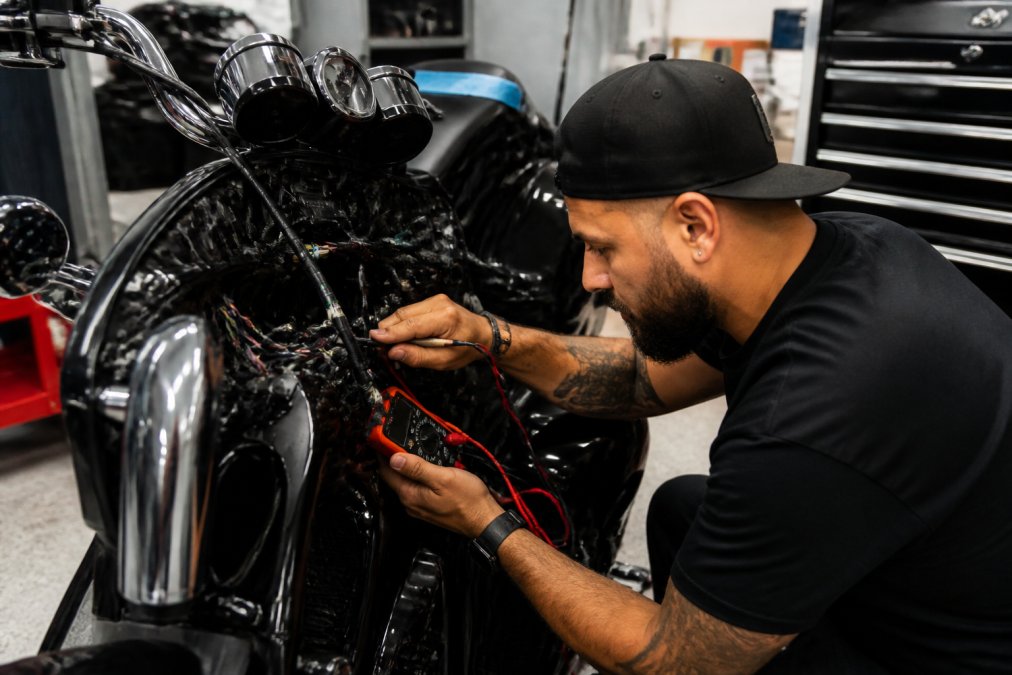
Ground connections are critical. Experienced motorcycle audio installers know the best ground points on different bike models and how to prepare them properly, stripping paint, applying dielectric grease, and securing connections against vibration.
What to Look for When Vetting a Professional Installer
Ask about their experience with your specific bike model. A shop experienced with Harleys may struggle with sport bikes due to different electrical systems and mounting points. Request photos of previous work on similar motorcycles to assess speaker mounting quality, wiring cleanliness, and problem-solving approach.
Vetting an Installer Checklist
Use this checklist when evaluating potential installers:
- Do they have documented experience with your specific motorcycle model or year range?
- Can they explain how they'll manage your bike's electrical load without draining the battery?
- Do they discuss weatherproofing and use sealed connectors throughout the system?
- Will they provide a detailed wiring diagram and parts list before starting work?
- Do they offer a workmanship warranty covering their labor, and for how long?
- Can they show examples of completed motorcycle audio builds with clear photos?
- Will they discuss component selection based on your bike's power constraints?
- Do they use marine-grade or automotive-grade sealed components, not consumer-grade speakers?
- Are they willing to work with existing aftermarket parts you already have installed?
- Do they explain the installation timeline and what to expect during the process?
Ask about custom fabrication. Speaker mounting on a motorcycle often requires custom brackets, enclosures, or adapter plates. A shop offering only universal mounts is cutting corners; custom fabrication keeps speakers secure through thousands of miles of vibration.
Motorcycle Audio Installation Cost and Budget Planning
Typical Installation Cost Ranges
Pricing for motorcycle audio installation varies widely based on the complexity of the system, the components chosen, and any custom fabrication required. For a detailed estimate, it's best to request a quote.
The Hidden Cost of Poor Installation
Many riders underestimate the cost of failure. A DIY electrical short can damage your charging system, alternator, or battery. Improperly managed amplifier power can cause premature battery replacement. Inadequate weatherproofing can cause component failure within months, forcing full replacement.
A professional installation with proper weatherproofing can function reliably for years. A DIY installation that fails after one season and requires repairs can ultimately cost more than a professional installation.
What's Included in Your Quote
When comparing quotes, verify what's included: parts cost, labor, electrical upgrades, weatherproofing, warranty coverage, and testing/tuning.
The cheapest quote is rarely the best value. The best value addresses all components and backs the work with a written warranty.
Electrical Upgrades: When They're Necessary
Amplifiers over 300 watts RMS may exceed your stock charging system's capacity. A professional installer will test alternator output and recommend upgrades if needed. High-output alternator upgrades can prevent battery drain; secondary lithium batteries offer a lighter alternative.
Motorcycle Audio Wiring Best Practices for Long-Term Reliability
Use appropriately sized power and ground cables. Undersized wiring causes voltage drop and component failure. A competent installer calculates correct gauge based on amplifier draw and cable run length, then goes one size larger for safety.
Secure every wire. Vibration causes fatigue and breaks in unsecured wiring. Professional installations use loom, conduit, or spiral wrap to bundle cables and secure them to the frame at regular intervals.
Use sealed connectors and weatherproof components throughout. Sealed connectors, dielectric grease, and weatherproof enclosures are non-negotiable for longevity, the difference between a system that works for years and one that fails in months.
Best Motorcycle Audio Amplifier Brands and Selection
Amplifier selection is critical. Your choice determines power delivery, heat management, electrical load, and reliability. Motorcycle-specific amplifiers must handle tight spaces, extreme vibration, and limited electrical headroom.
Motorcycle-Specific vs. Car Audio Amplifiers
Car audio amplifiers aren't optimized for motorcycles. Motorcycle-specific amplifiers are engineered for compact form factors, efficient power delivery, and thermal management in tight engine compartments.
Class D amplifiers dominate motorcycle audio because they're compact, generate minimal heat, and draw less current than Class AB designs. A 400-watt Class D amplifier draws 30-40 amps at full power versus 60+ amps for Class AB, significant when your alternator outputs 30-50 amps total.
Key Specifications to Evaluate
When selecting an amplifier, focus on: continuous RMS power at 4 ohms (real output, not peak watts), 85%+ efficiency, thermal shutdown at 140-160°F, low-voltage cutoff protection, compact form factor (under 10 inches long), and sealed construction with conformal coating.
Amplifier Power Budgeting
Calculate total system draw before selecting an amplifier. If your alternator outputs 40 amps and your amplifier draws 60 amps at full power, you have a 20-amp deficit covered by battery discharge. A high-output alternator (50-65 amps) or secondary battery system is necessary to sustain high-power amplification.
Most professional installers recommend 200-400 watt RMS amplifiers for motorcycles without electrical upgrades. Riders wanting more power should budget for alternator or battery upgrades.
Thermal Management Considerations
Amplifiers mounted near the engine can reach 140-160°F during summer riding. Select amplifiers with aluminum heatsinks, forced-air cooling, thermal shutdown protection, and low idle current draw (0.5-1.5 amps at standby).
Reputable Motorcycle Audio Amplifier Manufacturers
Harley-Davidson OEM audio partners (Rockford Fosgate, Boom! Audio) engineer amplifiers for Harley electrical systems. Compact car audio brands (Kenwood, Alpine, Sony) offer Class D amplifiers that adapt well to motorcycles. Marine audio manufacturers (Fusion, Wet Sounds) design amplifiers for high-vibration environments with sealed construction and corrosion-resistant components.
Ask your installer which amplifiers they've installed most frequently on motorcycles and which have the best long-term reliability. Quality amplifiers can function reliably for years with proper electrical management.
Amplifier Placement and Mounting
Professional installers typically mount amplifiers in saddlebag enclosures (provides airflow), under-seat locations (space-efficient but requires ventilation), or fairing cavities (works well on sport bikes).
Regardless of location, the amplifier must be mounted on vibration-isolating material (rubber or foam) to prevent vibration from loosening connections and damaging components.
DIY vs. Professional Installation: What You Need to Know
Installing motorcycle audio yourself is possible if you have electrical knowledge and fabrication skills. But the barrier to quality is higher than most DIY projects.
Weatherproofing and Durability Standards for Motorcycle Audio
Weatherproofing separates systems that last from systems that fail. Motorcycles are exposed to rain, humidity, salt spray, and temperature extremes that car audio never experiences. Every component in your system needs protection.
| Selection Criteria | What to Verify | Why It Matters |
|---|---|---|
| Electrical Expertise | Can they explain power management and charging system impact? | Prevents battery drain and electrical failures |
| Motorcycle Experience | Do they have documented builds on your bike model? | Ensures they understand your specific challenges |
| Weatherproofing | Do they use sealed connectors and marine-grade components? | Determines how long the system lasts in wet conditions |
| Custom Fabrication | Can they build custom brackets and enclosures? | Ensures secure mounting and proper fit |
| Warranty Coverage | Do they offer workmanship warranty in writing? | Protects you if failures occur |
| Communication | Will they explain the process and timeline upfront? | Reduces surprises and ensures clear expectations |
Frequently Asked Questions
What should I look for when choosing a motorcycle audio installer?
Look for installers with hands-on experience specifically with motorcycle audio systems, not just car audio technicians. Verify they understand your bike's electrical system, battery capacity, and charging limitations. Ask for examples of previous motorcycle audio installations, check customer reviews, and confirm they offer a workmanship warranty. A qualified installer will discuss power management and how the audio system integrates with your bike's existing electrical load before starting work.
How much does professional motorcycle audio installation typically cost?
Motorcycle audio installation cost varies based on system complexity, speaker type, amplifier integration, and custom fabrication needs. Request quotes from multiple installers and compare what's included in their pricing. Rollin Amped Audio and Customz can provide a detailed estimate after evaluating your specific bike and audio goals.
What are the risks of DIY motorcycle audio installation?
DIY installation risks include improper wiring that can damage your bike's electrical system, battery drain, blown fuses, or speaker failure. Motorcycles have tighter spaces and unique electrical constraints than cars, making incorrect wiring particularly problematic. Without proper tools and knowledge of marine-grade weatherproofing, your system may fail in rain or high humidity. Professional installers understand these challenges and ensure your audio system won't compromise your bike's reliability or safety.
Why is motorcycle audio wiring different from car audio wiring?
Motorcycles have smaller battery capacity, different charging systems, and tighter physical spaces than cars, requiring specialized wiring harness design and power management. Proper motorcycle audio wiring must account for vibration, moisture exposure, and heat from the engine. Marine-grade components and weatherproofing are essential. Professional installers follow best practices to ensure your system doesn't overload the electrical system or create battery drain issues during startup or idling.