 blog
blog
Best Motorcycle Audio Amplifier Brands: 2026 Guide
Table of Contents
- What Separates the Best Motorcycle Audio Amplifier Brands
- Quick Comparison: Top Motorcycle Amplifier Brands
- How to Choose Motorcycle Speakers and Amps for Your Bike
- Motorcycle Amplifier Installation Guide: What Actually Matters
- Are Marine Grade Motorcycle Amplifiers Worth It?
- Brand Standouts: Who Leads in Compact, Weatherproof, and DSP-Ready Amps
- Electrical System Impact: Will an Aftermarket Amp Drain Your Battery?
- Conclusion
- Frequently Asked Questions
Last Updated: September 24, 2026
What Separates the Best Motorcycle Audio Amplifier Brands
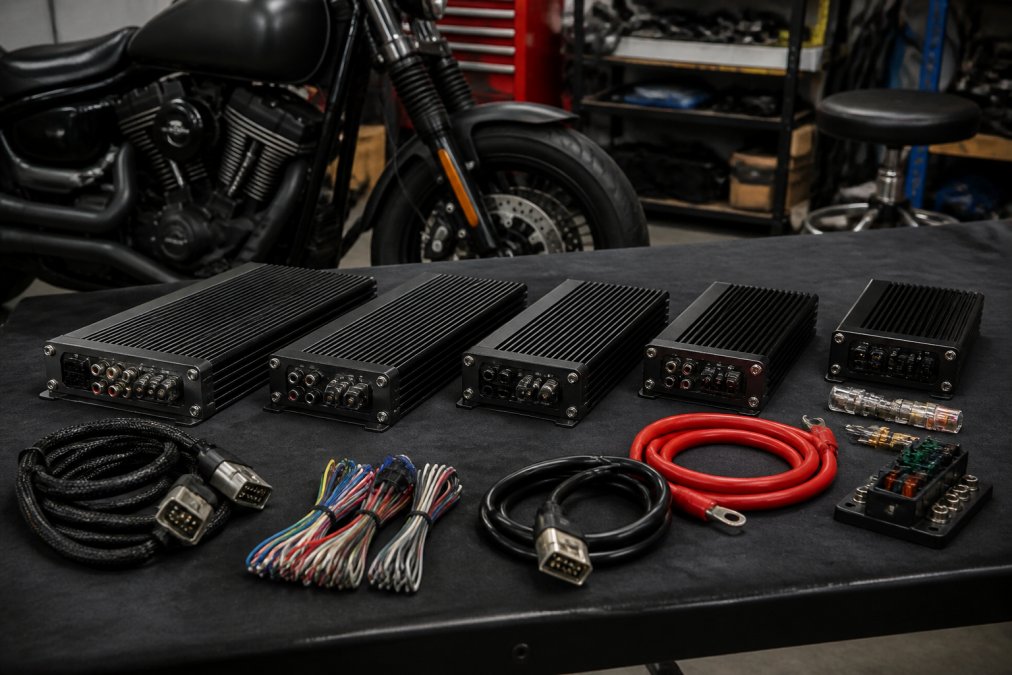
The best motorcycle audio amplifier brands solve problems car-audio companies never face: extreme vibration, wind noise that drowns out mid-range detail, tight mounting space, and charging systems never designed to feed a stereo. This guide from Rollin Amped Audio and Customz breaks down what matters when you shop for a motorcycle audio amplifier in 2026.
Quick Comparison: Top Motorcycle Amplifier Brands
No single brand wins every category. The right pick depends on your fairing space, electrical headroom, and whether you plan to run a digital signal processor later.
| Priority | What to Look For | Why It Matters |
|---|---|---|
| Loud, clean volume | Real RMS wattage per channel | Peak power numbers are marketing |
| Longevity | Conformal coating, sealed connectors | Moisture kills unprotected boards |
| Tight installs | Compact footprint, Class-D design | Fairing space is measured in millimeters |
| Future upgrades | DSP-ready, bridgeable channels | Saves a full rewire later |
| Electrical safety | Low current draw, thermal protection | Protects your stator and battery |
How to Choose Motorcycle Speakers and Amps for Your Bike
Choosing speakers and amps starts with matching impedance and RMS ratings, then confirming your charging system can support the load. Get those right and most compatibility problems disappear.
Matching RMS Wattage to Your Riding Style
Riding style changes your wattage target more than most buyers expect.
- Around town, no fairing: modest power per channel is plenty
- Highway cruising with a fairing: more headroom keeps mid-range clear against wind noise
- Baggers with subwoofer integration: plan for a dedicated channel and a larger current draw
- Two-up touring: rear speakers need their own gain adjustment so your passenger isn't blasted
Consumer Product Safety Commission guidance on vehicle electrical safety
Motorcycle Amplifier Installation Guide: What Actually Matters
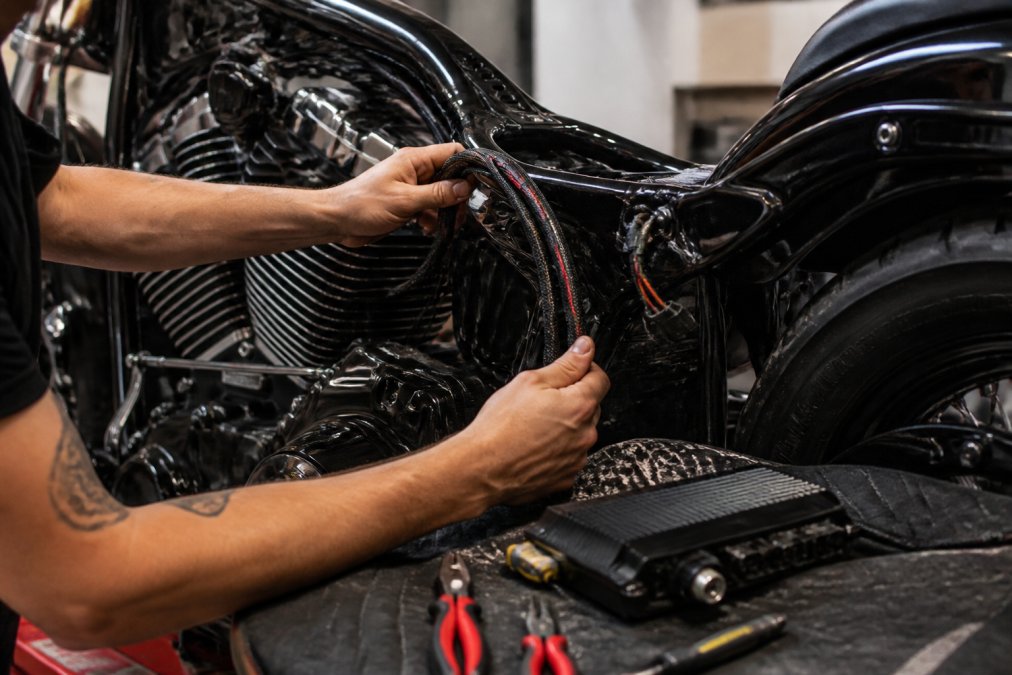
Installation quality decides whether a good amplifier sounds good. A premium amp wired poorly will hum, cut out, or drain your battery, and no brand name fixes that.
Wiring, Ground Loops, and Stator Load
A ground loop is unwanted current flowing between components that share more than one ground path. It shows up as a whine that rises and falls with engine RPM. The fix is almost always a single, short, bare-metal ground point for the entire audio system.
Wire Gauge and Ground Point Practices
Wire gauge is not a suggestion. Undersized power and ground wire creates resistance, and resistance creates heat and voltage drop. Installers size power wire for the amp's fuse rating, not its average draw, because the fuse protects the wire and the wire must survive worst-case current.
- Power wire: match gauge to fuse rating and run length. A short run to a fairing-mounted amp tolerates smaller gauge than a long run to a saddlebag.
- Ground wire: use the same gauge as the power wire, and keep the run as short as possible. A ground longer than the power run is a common cause of persistent whine.
- Ground point: bare metal on the frame, not a painted bracket or a factory bolt that also carries another component's ground. Scrape to bare metal, use a star washer, and torque to spec.
- Signal wire routing: keep RCA or high-level signal cables away from power wire and from the ignition coil and spark plug leads. Crossing at 90 degrees is acceptable; running parallel for a long distance is not.
DIY Installation Troubleshooting
Most failed installs come down to a handful of fixable problems.
- Amp cuts out at volume: check ground first, then wire gauge. A voltage drop under load trips the amp's protection circuit.
- Engine whine through speakers: relocate ground to bare frame metal, shorten the ground run, and separate signal cables from power cables.
- Weak or distorted output: verify gain adjustment and crossover settings. Gain is not a volume knob, setting it too high drives the amp into clipping at low head-unit volume.
- Battery drains overnight: confirm the remote turn-on wire isn't live with the key off. A remote wire tapped to a constant-hot circuit keeps the amp powered indefinitely.
- One channel dead or intermittent: check speaker impedance. An amp rated for a minimum ohm load protects itself if a speaker or wiring presents a lower impedance than it can handle.
DSP Integration: The Step Most Guides Skip
A digital signal processor (DSP) sits between your source and your amplifier and lets you tune time alignment, crossover points, and equalization per channel. On a motorcycle that matters more than in a car, because rider and passenger sit at different distances from each speaker and wind noise changes the effective frequency response at speed.
- DSP-ready amplifier with built-in processing. The amp accepts a digital input or has onboard tuning software. This is the simpler path and keeps the install compact.
- Standalone DSP feeding a conventional amplifier. This offers more tuning channels and processing power but adds a component and another set of signal cables to route and protect from vibration.
Federal Trade Commission guidance on advertising claims
Are Marine Grade Motorcycle Amplifiers Worth It?
For most riders, yes. Marine-grade motorcycle amplifiers use conformal coating on the circuit board and sealed connectors, and that protection keeps a bike amp alive through rain, wash-downs, and humidity.
Brand Standouts: Who Leads in Compact, Weatherproof, and DSP-Ready Amps
The brands worth shortlisting lead in one of three areas: compact Class-D design, weather sealing, or DSP integration. Very few lead in all three, so decide which matters most for your build.
Federal Trade Commission guidance on advertising claims
Electrical System Impact: Will an Aftermarket Amp Drain Your Battery?
An aftermarket amp will only drain your battery if its current draw exceeds what your charging system produces at your normal riding RPM. For many cruisers, a modest amp stays comfortably inside that budget. A large multi-channel setup with a subwoofer often does not.
The Three Numbers You Need
Before you can answer the battery question, you need three figures, two from the amp's spec sheet, one from your bike.
- Amplifier current draw at rated power. Usually printed as a fuse rating or max current figure in amps. A compact Class-D amp rated for modest output commonly draws 10 to 20 amps at full tilt, while a multi-channel amp driving a subwoofer can pull 40 amps or more. If the spec sheet only lists wattage, divide RMS watts by roughly 10 to estimate amps at 12 volts DC, that accounts for Class-D efficiency losses in a real install.
- Your bike's charging output at cruising RPM. The stator's rated output, usually listed in the owner's or service manual in amps or watts. Many cruiser stators produce 30 to 50 amps at highway RPM, but that figure drops sharply at idle.
- Your baseline accessory load. Headlight, taillight, turn signals, ECU, fuel pump, and any heated gear all draw from the same pool. A typical halogen headlight alone can pull 5 to 10 amps; LED lighting cuts that substantially.
A Worked Example
Suppose your amp draws 20 amps at full output. Your headlight and running lights add 8 amps. Your ECU and fuel pump add another 5 amps. That's 33 amps of demand.
What to Do When the Math Comes Up Short
If demand exceeds charging output, you have four realistic options, in rough order of cost and complexity:
- Step down to a more efficient Class-D amp. Class-D designs convert a higher percentage of input power into audio output than older Class-AB designs, so they draw less current for the same volume.
- Reduce accessory load. Swapping incandescent bulbs for LED equivalents is one of the cheapest ways to free up charging capacity.
- Add a capacitor or a second battery. A stiffening capacitor buffers short bass transients but does not create energy, it only smooths demand. A second battery or lithium upgrade increases reserve capacity for idling and parking-lot listening.
- Upgrade the stator and regulator/rectifier. The most expensive path and one most riders should treat as a last resort, because it changes the bike's electrical architecture and should be done by a shop familiar with your model.
Why This Matters More Than Brand
Two amplifiers with identical wattage ratings can have very different current draws depending on efficiency class, idle current, and how aggressively protection circuitry limits output. A spec sheet alone won't tell you whether an amp is safe for your bike. Brands worth trusting publish current draw, fuse rating, and efficiency data alongside wattage claims; brands that only publish peak wattage are asking you to guess.
Conclusion
The hard part of choosing a motorcycle audio amplifier isn't finding big wattage claims. It's finding one whose real RMS output, weather sealing, and current draw match your bike and how you actually ride.
Frequently Asked Questions
What is the most important feature to look for in a motorcycle amplifier?
Focus on real RMS wattage per channel at the ohm load your speakers use, not peak power. For a motorcycle, also check the amplifier's compact footprint and thermal protection, since fairing space is limited. A Class D design runs cooler and draws less current than older classes, which matters when you're adding a motorcycle audio amplifier to a bike with a stock charging system.
Are marine-grade motorcycle amplifiers necessary?
They are not required, but marine grade motorcycle amplifiers use conformal coating on the circuit board and sealed connectors that resist moisture, road spray, and vibration. If you ride in rain or wash your bike often, that protection extends the amp's life. For fairing-mounted amps that rarely see direct water, a standard weatherproof amp with a good heat sink can work, but marine-grade parts usually cost only slightly more.
How many channels do I need for a motorcycle audio system?
Most riders use a 2-channel amp for two fairing speakers or a 4-channel amp for two fairing speakers plus two saddlebag or tour-pack speakers. A 4-channel amp also lets you bridge two channels to power a single subwoofer. Match channel configuration to your speaker count before you buy, because adding channels later usually means replacing the amp, not just adding speakers.
Can I install a motorcycle amplifier myself?
Yes, if you are comfortable removing fairings, running a wiring harness, and making solid ground connections. The hardest parts are avoiding ground loops, keeping voltage stable, and finding space for the amp and heat sink. If your bike has a small stator output, test the charging system first. Many riders start the job themselves and bring it to a shop when noise or battery drain appears.